Setting up Laravel Telescope is a crucial step for developers looking to enhance their debugging capabilities and gain insights into the inner workings of their Laravel applications.
Telescope is an elegant debug assistant for the Laravel framework, providing exceptional insight into queries, jobs, requests, exceptions, and much more. In this article, we will guide you through the process of installing and configuring Laravel Telescope in your project, ensuring you have a powerful tool at your disposal for local development and optional use in production environments.
Prerequisites
Before we dive into setting up Laravel Telescope, ensure you have the following prerequisites met:
- A Laravel project setup and running on Laravel 6.x or higher.
- Composer installed on your system for managing dependencies.
Use Telescope locally and in production
Warning
Running Telescope in production might impact your app's performance. Disabling the watchers you don't absolutely require is advised.
Installation
1. Require Laravel Telescope via Composer
Begin by requiring Laravel Telescope through Composer. Open your terminal, navigate to your Laravel project directory, and run the following command:
composer require laravel/telescope
2. Publish Telescope’s Assets
After the installation is complete, you need to publish Telescope’s assets and configuration to your project. This is done by executing the following artisan command:
php artisan telescope:install
This command publishes Telescope’s configuration file and migrations to your project.
3. Run Migrations
Telescope creates several tables in your database to store information about requests, exceptions, jobs, and more. Run the migrations with the following command:
php artisan migrate
Ensure your database configuration is correctly set up in your .env file before running this command.
Use Telescope for local development only
Installing Telescope locally for development is recommended if you don’t need it in production.
Installation
Begin by requiring Laravel Telescope through Composer with
--dev flag. Open your terminal, navigate to your Laravel project directory, and run the following command:
composer require laravel/telescope --dev
Then we can publish Telescope’s assets using artisan:
php artisan telescope:install
And finally run the migrations:
php artisan migrate
Register the service provider manually
Remove the Telescope service provider registration from the application’s
config/app.php configuration file:
					'providers' => [
    /*
     * Application Service Providers...
     */
    // Remove the line below
    App\Providers\TelescopeServiceProvider::class,
],
This is done so Laravel doesn’t register Telescope when it registers its other service providers in production.
Register the Telescope service provider manually in the app’s
Register the Telescope service provider manually in the app’s
app/Providers/AppServiceProvider file:
					/**
 * Register any application services.
 *
 * @return void
 */
public function register()
{
    if ($this->app->environment('local')) {
        $this->app->register(\Laravel\Telescope\TelescopeServiceProvider::class);
        $this->app->register(TelescopeServiceProvider::class);
    }
}
That registers the
Finally, the Telescope package should not be auto-discovered by Laravel. Add Telescope’s package to the
TelescopeServiceProvider from the vendor directory and then the one that’s configured for you app.
Finally, the Telescope package should not be auto-discovered by Laravel. Add Telescope’s package to the
dont-discover array in the composer.json file to ignore it when running Composer install and update commands in production:
					"extra": {
    "laravel": {
        "dont-discover": [
            "laravel/telescope"
        ]
    }
},
Accessing Telescope and Authorization
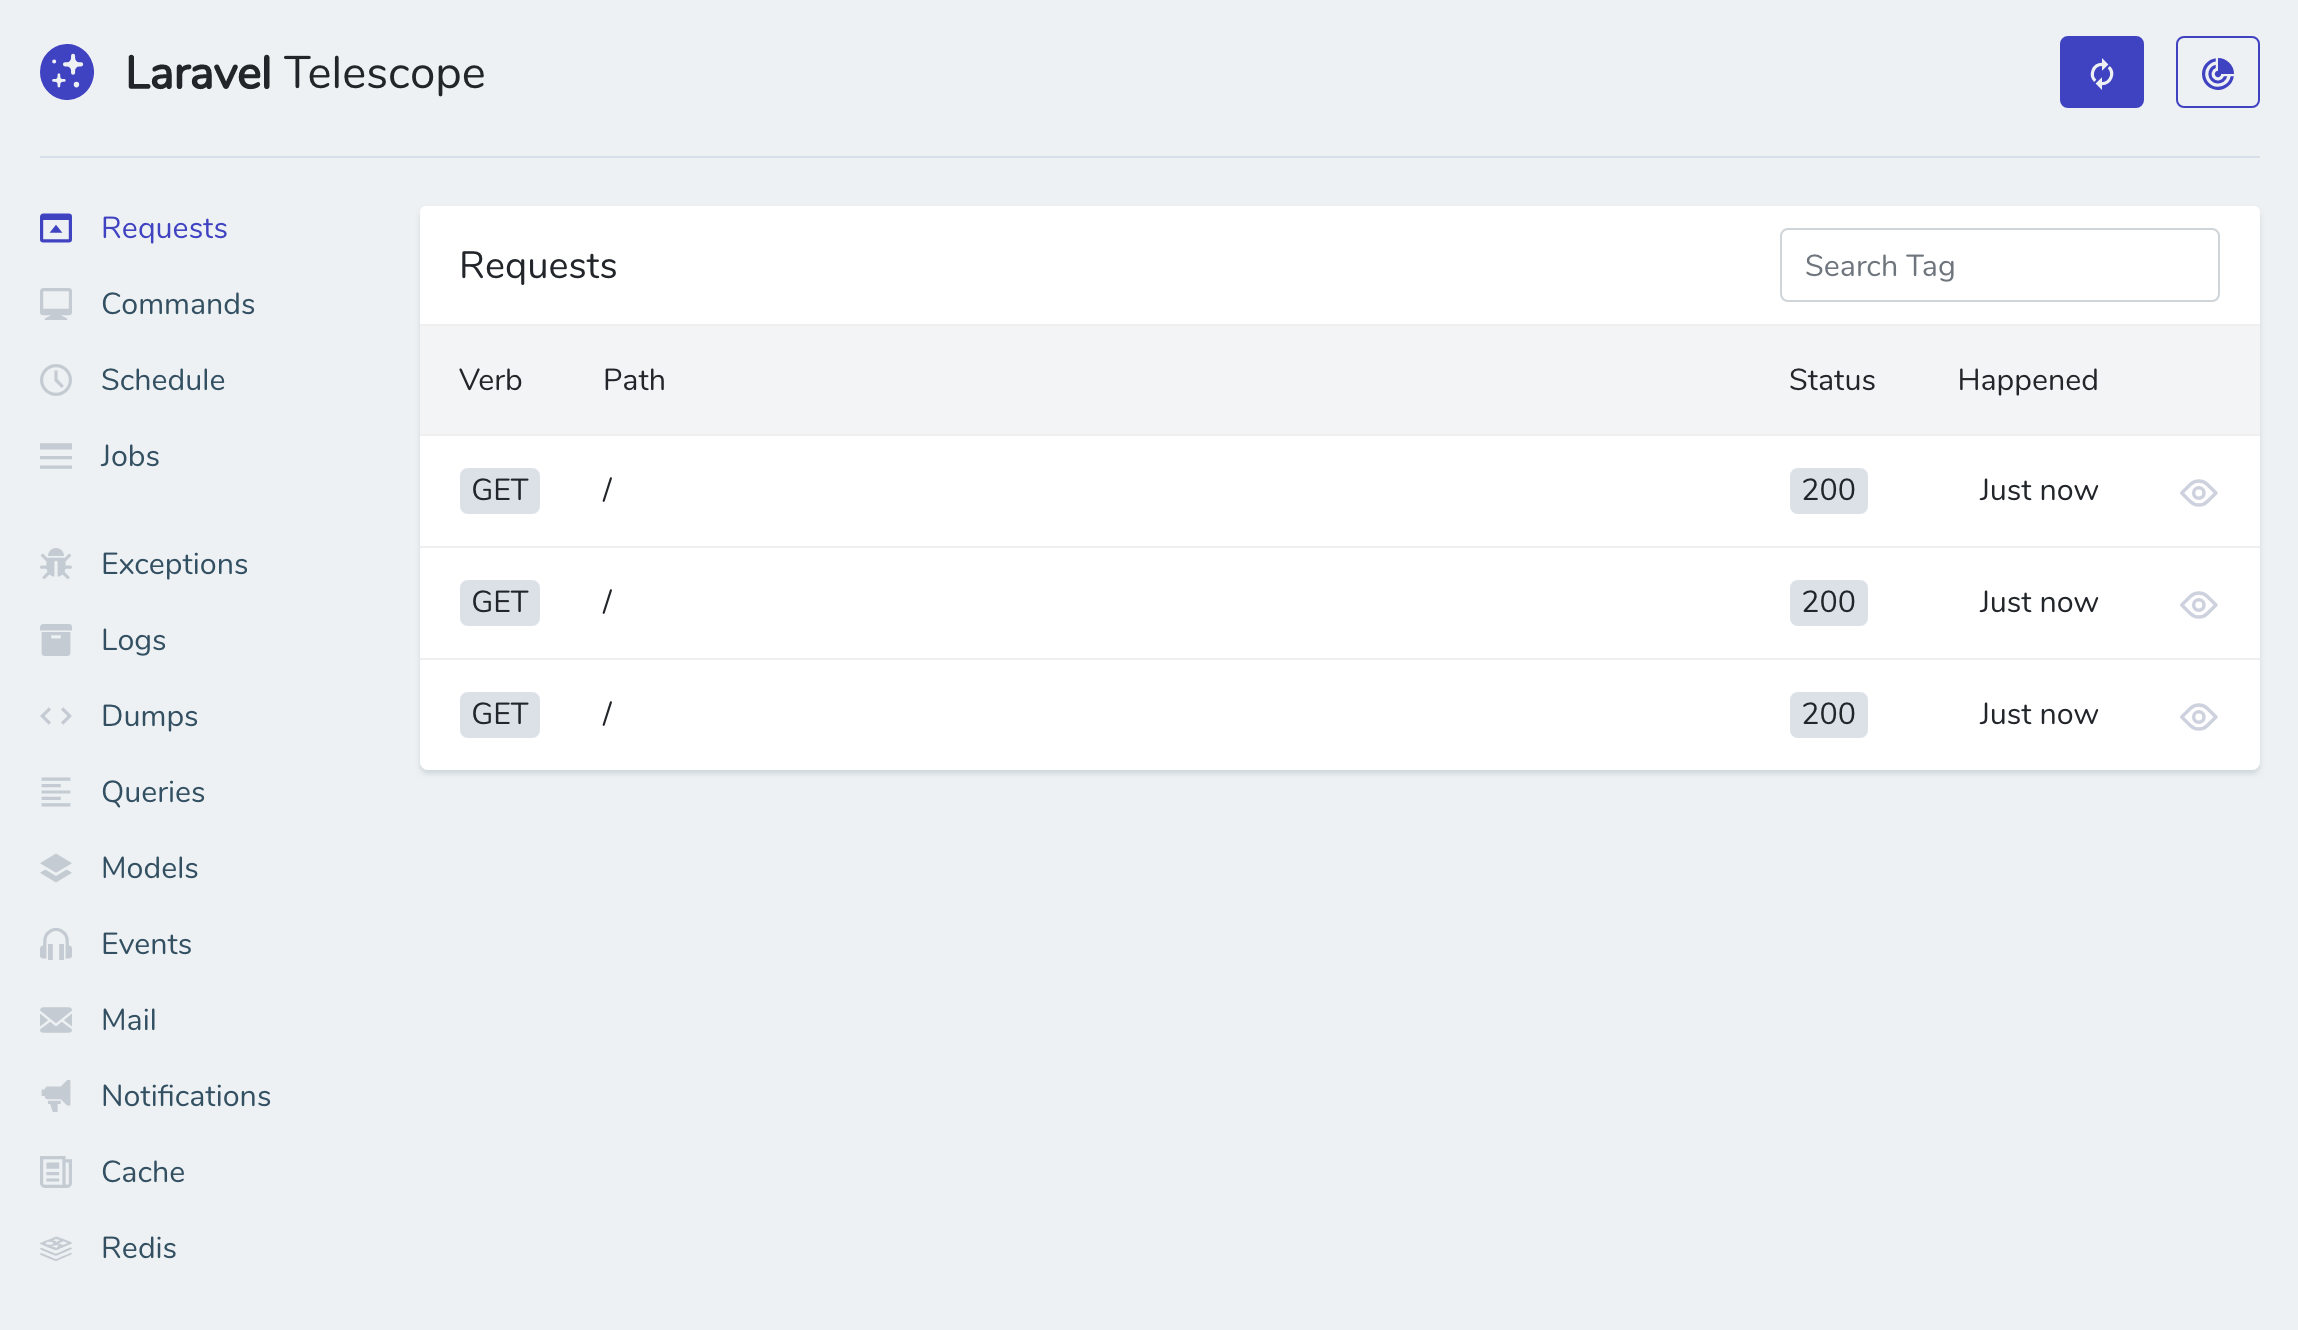
To access Telescope’s dashboard, you can visit
By default, the dashboard is only accessible in a local environment.
For production environments though, you need to specify which users are allowed to access the dashboard as it is protected by an authorization gate.
You can authorize users in your app’s
your-app.test/telescope.
By default, the dashboard is only accessible in a local environment.
For production environments though, you need to specify which users are allowed to access the dashboard as it is protected by an authorization gate.
You can authorize users in your app’s
TelescopeServiceProvider.php file:
					/**
 * Register the Telescope gate.
 *
 * This gate determines who can access Telescope in non-local  environments.
 *
 * @return void
 */
protected function gate()
{
    Gate::define('viewTelescope', function ($user) {
        return in_array($user->email, [
            // taylor@laravel.com
        ]);
    });
}
Configuration
After installing Telescope, it’s time to configure it to suit your needs. The primary configuration file for Telescope is located at
config/telescope.php.
Here are some key aspects you might want to configure:
1. Environment Restriction
By default, Telescope is designed to be used in a local development environment. If you want to enable it for other environments, you can modify theTELESCOPE_ENABLED environment variable in your .env file or directly adjust the enabled setting in the config/telescope.php file.
2. Watchers
Telescope allows you to configure which parts of your application are monitored through “Watchers”. These include things like requests, commands, scheduled tasks, and more. You can enable or disable individual watchers in theconfig/telescope.php file to tailor the data collected by Telescope.
3. Pruning Records
To prevent your database from growing indefinitely with diagnostic data, Telescope provides a way to prune older records. You can configure the retention period in theconfig/telescope.php file, and set up a scheduled command in your app/Console/Kernel.php class to regularly prune old records:
$schedule->command('telescope:prune')->daily();
Diving deeper
This guide only covers installing and getting started with Laravel Telescope. There are a lot more subjects to cover like tags, watchers, etc.
Be sure to always review the official documentation.
Be sure to always review the official documentation.
Conclusion
Laravel Telescope offers a powerful and convenient way to understand what’s happening inside your Laravel application. By following the steps outlined in this guide, you can set up Telescope in your project, configure it according to your needs, and start leveraging its capabilities to improve your development workflow. Whether you’re debugging an issue, optimizing your application, or just curious about the inner workings of your project, Telescope provides valuable insights that can help you elevate the quality of your work.